Showing posts with label buttons. Show all posts

Sunday, 20 March 2011

The Unveiling...

So what do you need when you get new sofas? New cushions!!! Especially when it's your birthday...
So here they are, I made 2...for my lovely friend A...
Both are made from grey felt (very cheap), then buttons from my never ending stock of buttons and LARGE buttons I got from my local Fabric Land...


Using the excess after cutting enough for the cover I cut out circles, in 3 different sizes, then chopped them in half. Drew round a side plate in the middle of the front of the cushion, then started applying the petals. I pinned each one in place, around the circle, then ran the sewing machine around the bottoms to secure them, then I repeated the process, pinning (to hide the sewing from the previous layer), sewing, pinning, sewing etc...after about 3 rows I made a slight pleet in the petal to add some height...and then the very centre I rolled the petals and hand sewed them in place...This was VERY time consuming, but VERY effective...no wonder they fetch so much in the shops!!!


I also made a second cushion, using the same technique to make them, then drew round a heart stencil, and then sewed on about 75 buttons to fill in the heart....I do love the finished article, but wish there was a faster way to sew on buttons!!!
What do you think?

Thursday, 8 April 2010

Look What's Growing in My Garden!!!

Spring has Sprung!!! 
Very Exciting!!!


So I have been batch making some things to get a little stock going of goods, I am thinking about starting an Etsy shop, although I need to do some serious research into how it works, what I need to do etc...
In the mean time I am trying to get a little stock of bits and bobs...


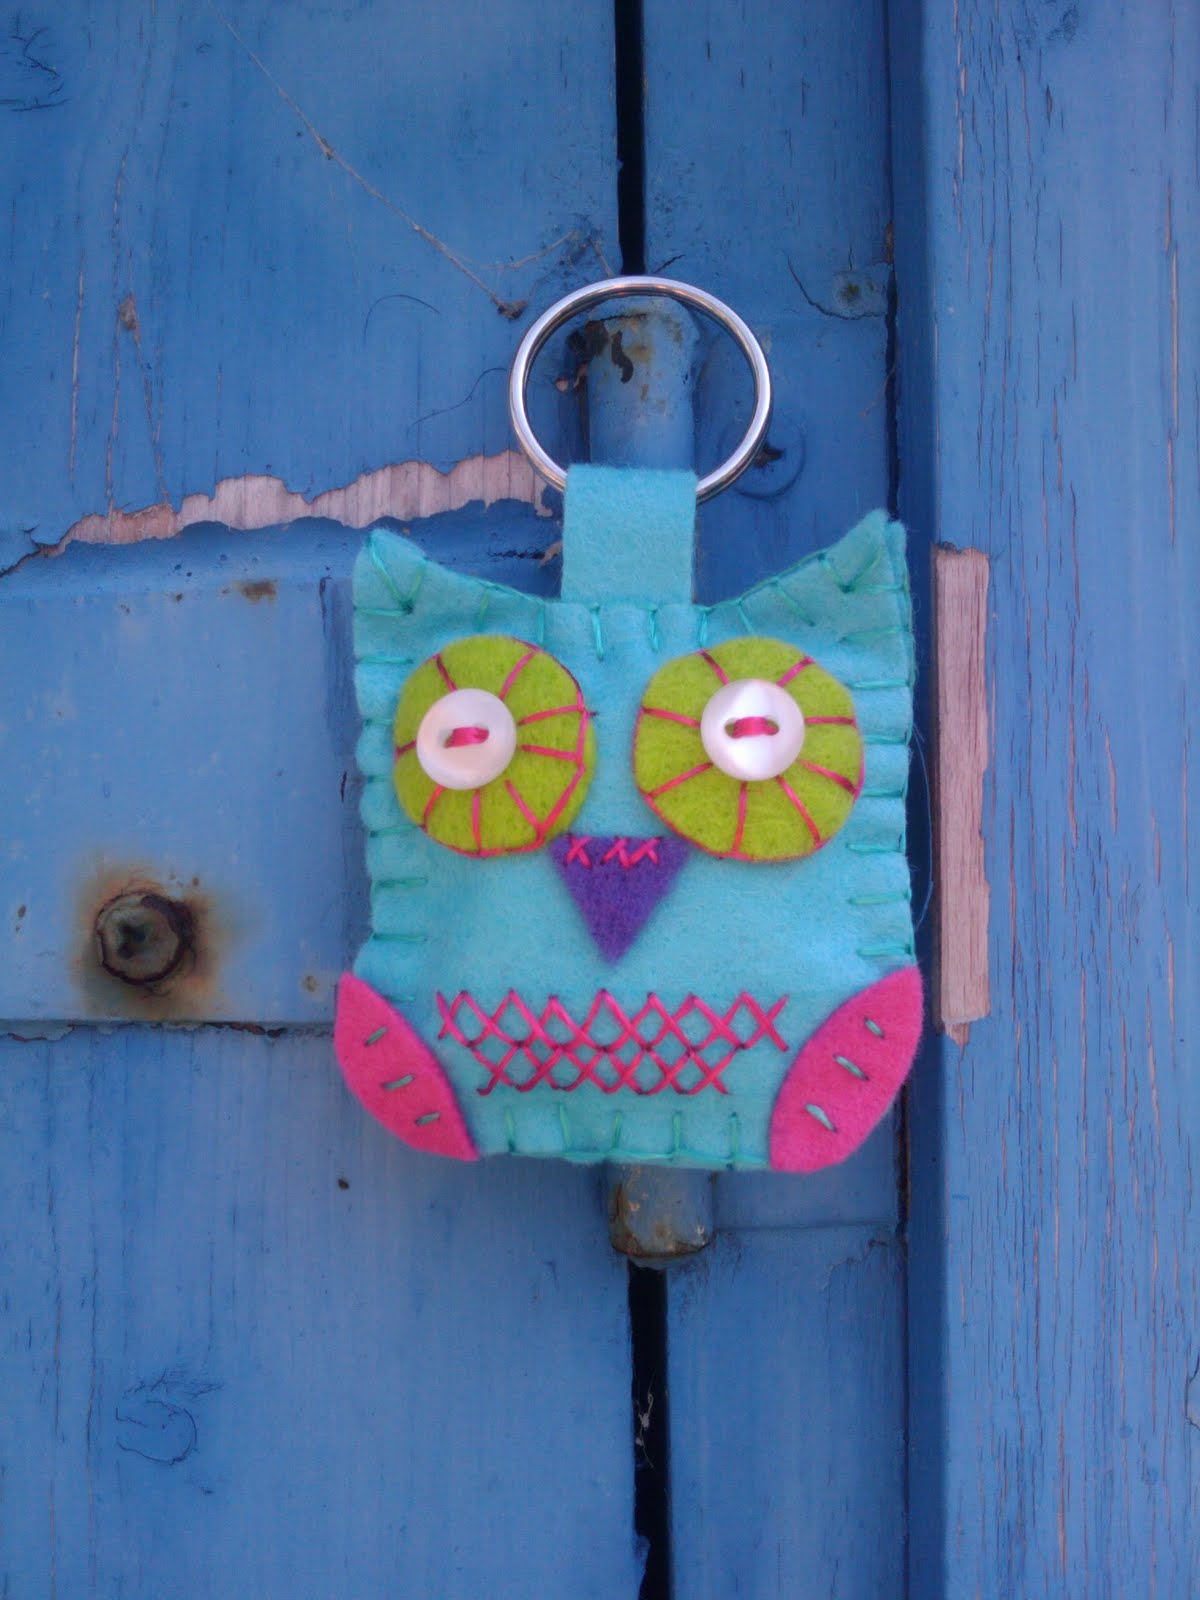
I hope you like my little friends, if you would like one then please contact me and I'll email you with prices...they can easily be customised with names or phrases on the back to make extra special presents!!!

Next Project my most ambitious quilt yet!!! Just need to get over my nightshift sleepyness so I don't make any massive mistakes!!! Photos to follow soon!!!
Enjoy the Sunshine!!!

Tuesday, 2 February 2010

Mini Crafts...

Ribbon or Selvage Edge Flowers

I was inspired to make some of these whilst doing some research into felt creations...they are simple flowers made from the selvage edge of some material I have been using to start a new patchwork (more of that to come later, but it is a gift, so will have to keep quiet until it has been given!!!)


I made these 2 different ways, the first being the more difficult way, keeping the selvage as a whole strip, folding it backwards and forwards and sewing it as I went to keep it in place. The flowers with the yellow and white buttons were made like this. I then tried a simpler method, which whilst nice is maybe not as fun. The 2 flowers with pink buttons and the green button are made by folding and cutting the selvage or ribbon in half until you have 8 pieces (3 times), then doubling those pieces over, threading the open end of each of the 8 pieces into a needle and thread and then sewing to secure. A button was then sewen over the top to hid the stitches!

I have sewen the back of this one with a felt disc and after sewing it on half way round, inserted a closed safety pin to allow it to be used as a brooch or embellishment on a handbag etc...


Zip Flower
I have seen LOADS of these in the shops, especially in America, on tops, shoes, bags, headbands and as broaches, however they always seem ludicrously expensive especially when you know how cheap a zip is. So i thought I would have a go myself!!! in the end it was pretty easy, although it took me a while to decide how best to make it. Basically I opened the zip and cut the bottom off to allow the zipper to come off. I then used one side of the zip to make the tighter middle flower which I basically twisted and stitched as I went. I then put a loose running stitch along the 2nd side, at the edge furthest from the teeth, pulled so it formed a circle and stitched it to the 1st half. Before I closed the circle I pushed the sipper back on and then secured it with a few final stitches. I then sewed a felt circle and safety pin on as before.

Anyway hope you like, I enjoyed making them all...hopefully will be back soon with more pretty things!!!