Showing posts with label felt. Show all posts

Sunday, 20 March 2011

The Unveiling...

So what do you need when you get new sofas? New cushions!!! Especially when it's your birthday...
So here they are, I made 2...for my lovely friend A...
Both are made from grey felt (very cheap), then buttons from my never ending stock of buttons and LARGE buttons I got from my local Fabric Land...


Using the excess after cutting enough for the cover I cut out circles, in 3 different sizes, then chopped them in half. Drew round a side plate in the middle of the front of the cushion, then started applying the petals. I pinned each one in place, around the circle, then ran the sewing machine around the bottoms to secure them, then I repeated the process, pinning (to hide the sewing from the previous layer), sewing, pinning, sewing etc...after about 3 rows I made a slight pleet in the petal to add some height...and then the very centre I rolled the petals and hand sewed them in place...This was VERY time consuming, but VERY effective...no wonder they fetch so much in the shops!!!


I also made a second cushion, using the same technique to make them, then drew round a heart stencil, and then sewed on about 75 buttons to fill in the heart....I do love the finished article, but wish there was a faster way to sew on buttons!!!
What do you think?

Monday, 19 April 2010

More Flowers!!!

I found a pattern for these flowers somewhere on-line, they are MEGA easy to make and would be great for kids or teenagers as mini projects.

I have been in a car crash (a total nightmare) I'm okay but car is trashed, and I have been signed off work for at-least a week, so I will have more time to be crafting more hopefully over the next week. I have been experimenting with my new "darning foot" for my Janome, so hopefully I will have some finished articles which I am pleased enough with to post...although it might take longer than a week!!!

Thursday, 8 April 2010

Look What's Growing in My Garden!!!

Spring has Sprung!!! 
Very Exciting!!!


So I have been batch making some things to get a little stock going of goods, I am thinking about starting an Etsy shop, although I need to do some serious research into how it works, what I need to do etc...
In the mean time I am trying to get a little stock of bits and bobs...


I hope you like my little friends, if you would like one then please contact me and I'll email you with prices...they can easily be customised with names or phrases on the back to make extra special presents!!!

Next Project my most ambitious quilt yet!!! Just need to get over my nightshift sleepyness so I don't make any massive mistakes!!! Photos to follow soon!!!
Enjoy the Sunshine!!!

Wednesday, 17 February 2010

How -To...Make a Zip Flower!!!

My Cousin asked for a how to...and here it is...I had by sheer coincidence bought some Zips this very morning to make a few new zip flowers!!!
So...you will need

1 Zip (this one was 9 inches, but you could use a smaller 7 or 8 inch, but not much smaller) other colours work too but I like the contrast of the metal teeth on the black)
Felt (or some material could be denim, or cotton for the back)
1 Safety pin
Thread to match the zip and to match the backing
A strong needle and
a pair of scissors

1 - You need to get the zip into 2 separate pieces, do this by cutting the end off just above the metal stopper.


2 - Slide the zipper off, you can either use this on the flower or discard it...

3 - Thread your needle with normal cotton, but double it over so you are sewing with a double strand for extra strength.

4 - You need to start by making a tight coil with the end of the zip, and then secure this with a few stitches. Keep the needle and thread in the flower and keep turning, twisting and stitching to begin to build up the flower.

5 - What I have tried to show with the picture is that by folding the edge of the zip you make interesting shapes in the line of the flower. Fold these and secure flat to the flower with more stitches.
6 - Once you have sewn all the way round, tie off the thread and cut off the remainders.

7 - Using the 2nd piece of the zip, cut the top on off so both ends of the zip are the same.

7 - Sew a simple running stitch through the lower part of the zip edge, (use the matching thread, doubled over as before, I used a contrasting stitch so you can see it)

8 - Pull the thread through so that it causes the zip to curl round. Pull until it has a reasonable curl and then tie a knot in the loose end, but don't sew the ends together yet.

9 - Sew this to the underside of the flower using a similar technique to before, folding and stithing, you may end up overlapping, that is fine.
10 - Before you close the end of the zip, decide if you want the zipper on the flower or not. (I decided not to in this flower, but I have done on other flowers already posted, they look good but do add weight!) If you do, slide it on and decide where-abouts you want it, then you can put a few stitches around the teeth of the zip in the matching thread so the zipper doesn't move.
11 - Try and end with the final end of the zip ending near the middle of the underside of the flower for a neat finish. Secure the ends with a few stitches and a knot. Don't worry if it isn't very neat as all the ends will be hidden. Once the flower is finished turn it over and find your backing material.

12 - Cut a disc of felt just big enough to cover all the loose ends on the back.

13 - Using you matching thread sew the backing disc to the flower, I haven't been amazingly neat, I was being quick, but you can take your time and try to be neat, although you wont see it from the front so not a massive problem.

14 - Get your safety pin and cut a disc of the same fabric that will fit just inside your safety pin.


15 - Sew this onto the disc already there, making sure it is held securly and that you sew the fixed side to the broach or you wont be able to open it!!!
16 - You have finished - wear your flower with pride and starting making more to sell to your friends!!!

Friday, 11 December 2009

Creations from Last Night!!!


SO this is all my creations hanging under my fire place, we don't have a tree yet, so thought I would start the festive feel with these decorations. Underneath are close-ups of some of the decorations and I'll put a quick How-to description...
This decoration is made with a base called a Yo-Yo, which is basically a disc of felt or material, stitched round the edge with a running stich, pulled tight and flattened out...

This Christmas tree was made with red felt, green embroidery thread and some lovely golden studs which cost 3p each, they have 4 tiny spikes on the back, you push them through and then press the spikes flat!!! they look great i think, and very festive!!!
More Yo-Yos, for step by step directions follow this link http://heatherbailey.typepad.com/photos/how_to_make_a_yoyo/hbyoyotutorial1.html

Finally another snowflake made with the studs again, really quick and easy!!!


And Finally, Lucy's Cat she made...her first attempt at blanket stitch and making felt things, a good job hey? apologise that my phone camera hasn't done it justice but it is black felt, pink eyes and stitching!!!

Monday, 7 December 2009

Mr.Owl

A friend asked me a few days ago, if I could make an owl, similar to the little one in my last post,but one that could be used as a gift for a friend expecting a baby boy....
so here is my creation...

this is just a first attempt, I will change a few things when I make the actual one, including making it a bit bigger and sewing it initially on the sewing machine to make sure it is secure and will last (hopefully) being loved by a child.
Hope you like it and are inspired to create something similar.

Friday, 4 December 2009

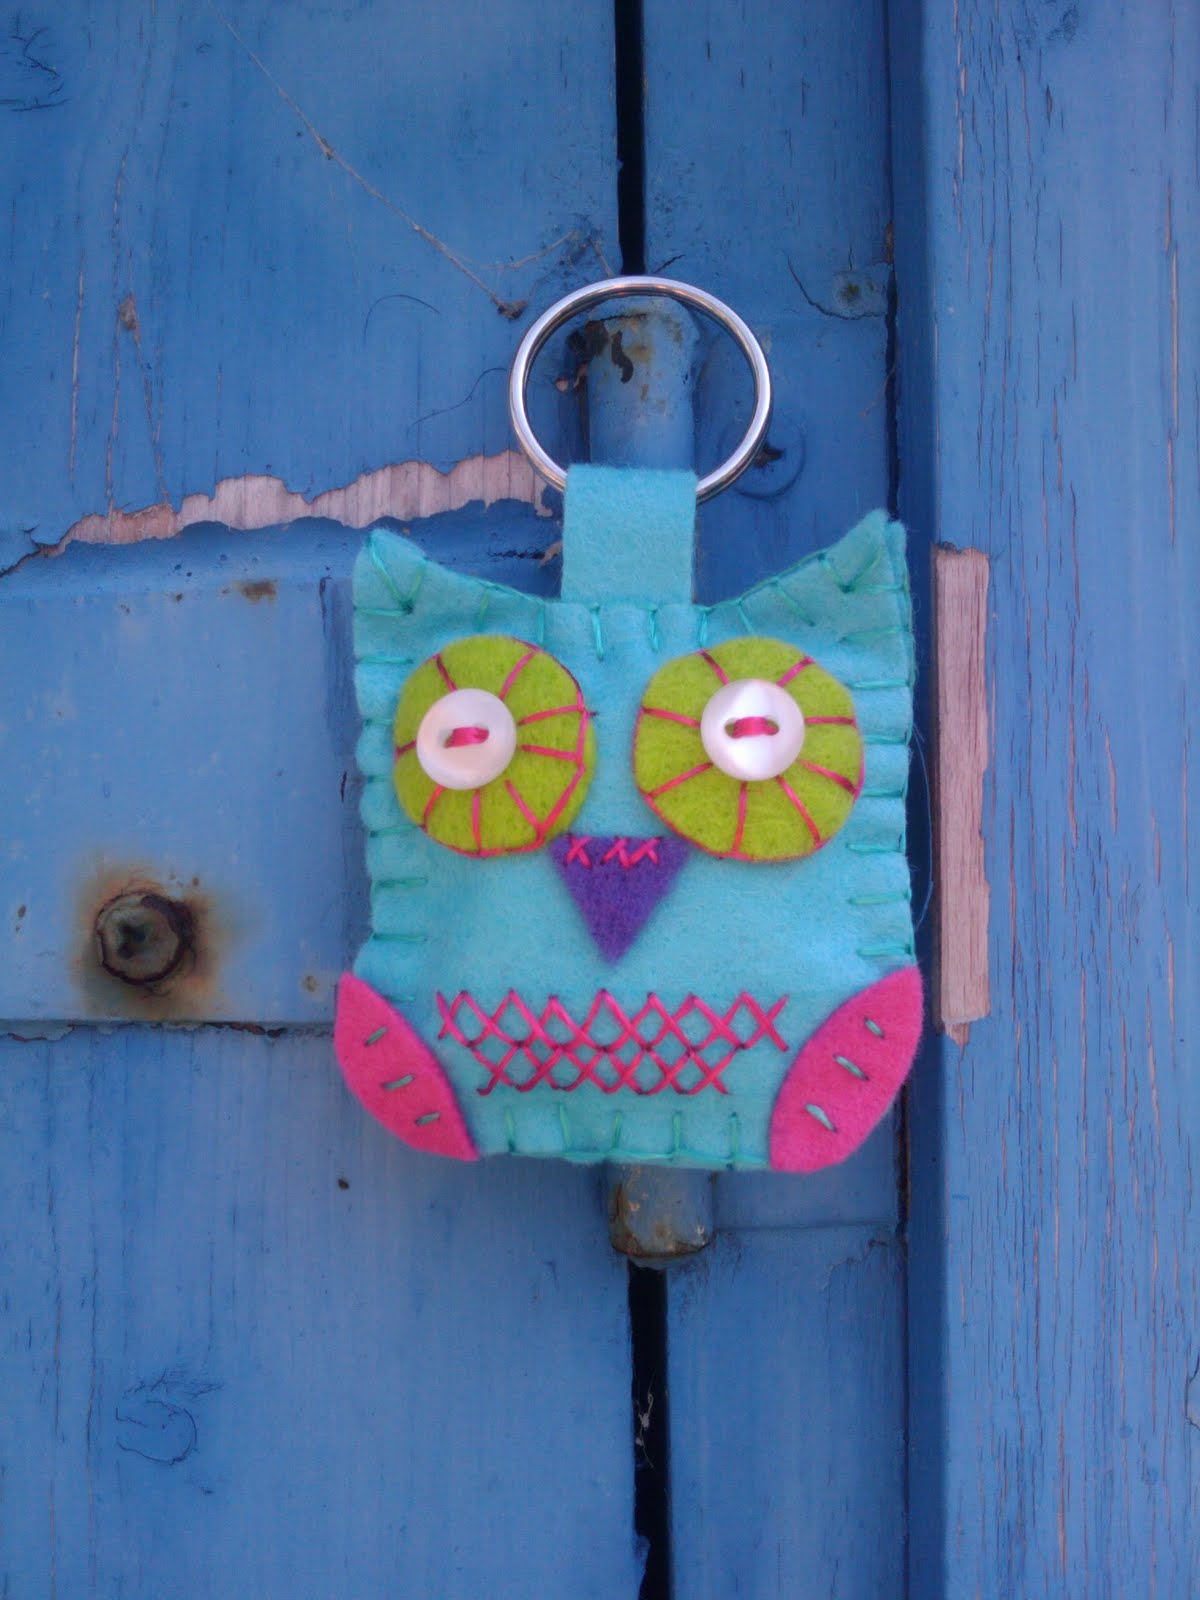
lil' owl


So I made this fellow a while ago, copying something I saw on the high street, I thought, " I can make that" and so I did!!!

So today i have been cutting patches for a patchwork...photos to follow...the preparation for making a patchwork is always the most laborious and frustrating bit, having to be so precise and neat, but the patch-working is good and pretty quick once the machine is out and all is ready!!!
I think I am going to get some different backing to the one I chose...maybe something more exciting...something from Heather Bailey or something similar.

I am still making Christmas decorations, but I have put that on hold for a few days, must get this patchwork done in time for Christmas too!!!

Wednesday, 25 November 2009

Last nights Christmas Dec's

So following the theme of all things Christmas-y I made this last night...


the general plan is to have lots of handmade Christmas decorations this year, i'm planning to give some as presents and to keep some for my house...

This one was made with red felt, green embroidery thread buttons, ribbon and silver bells.
Now doing some more baubles for a friend...and then it will be time to tidy the house for friends coming over this evening.
Work tomorrow, so probably no post, but it will be patchwork on Friday...

Tuesday, 24 November 2009

Welcome Along!!!


So I have been meaning to do this for a while!!!
A blog about crafts, arty things and cooking!!!
Basically things I like to do in my spare time,
so in this blog I will be posting mainly about the crafts I make and some art, if i ever get round to doing any, and also some cooking.
so for now, I will maybe leave you with a few pictures of previous projects, which I may post about if people want to know how they are made.
This is a patchwork I was comisioned to make for a friends baby shower, the ladies at the shower each made a patch, then i sewed them together, quilted it and bound it. Hopefully they like it!!!


Some Christmas Decorations which I have started making, really easy out of felt and a bit of ribbon and a small bell at the bottom!!!
Birthday muffins for a friend, I did cheat, not something I do often, but they were still yummy and sugary!!!!

Butterfly made from felt, seriously easy but very cute, will probably use for a present at some point.


1st attempt at blanket stitch and making things from felt, it has proved pretty easy and quick!!!